
Prologue: Go Wayback distinguishes itself from typical survival games, presenting a unique take on the genre with its relentlessly challenging weather systems and an innovative core gameplay loop. Before you embark on your journey across its procedurally generated maps, meticulously optimizing your PC settings is paramount for achieving the most enjoyable and smooth experience.
Adjusting video settings is especially critical, as Prologue: Go Wayback can be quite demanding on hardware, often exhibiting inconsistent performance unless you possess a top-tier system. However, even audio and control settings offer significant customization to align with your personal preferences. This comprehensive guide provides our recommended configurations for every essential setting within Prologue: Go Wayback.
Table of Contents
-
Best Settings in Prologue: Go Wayback
- Video Settings
- Sound Settings
- Controls Settings
Best Settings in Prologue: Go Wayback
Prologue: Go Wayback categorizes its primary settings into three distinct menus: Video, Sound, and Controls. In the sections below, we will meticulously list each available option within these categories and offer our expert recommendations for their optimal values. It is important to bear in mind that certain settings may require fine-tuning based on your individual preferences and specific PC hardware configuration.
The following detailed sections will visually guide you through each of these three settings menus, complete with illustrative images.
Video Settings

- Resolution: 1920×1080 or your monitor`s native resolution
- Fullscreen Mode: Borderless
- View Distance: High
- Anti-Aliasing: Medium
- Post Processing: Medium
- Shadows: Low
- Global Illumination: Low
- Reflections: Low
- Textures: High
- Effects: High
- Foliage: High
- Shading: Medium
- Motion Blur: No
- Upscaler: DLSS (if using an Nvidia GPU)
- Frame Generation: DLSS (if you have an applicable Nvidia GPU)
- Sharpener: None
- Upscaler Quality: High
- Sharpener Quality: Low
- Gamma: 2.2
Ultimately, your ideal video settings will be dictated by the frame rate you aim to achieve in Go Wayback. For players with a modern PC consistently reaching over 100 FPS, the recommendations above strike an excellent balance between visual fidelity and smooth performance. Conversely, if you are struggling to maintain a consistent 60 FPS, we advise lowering some or all of these settings to their minimum values to significantly boost your frame rate.
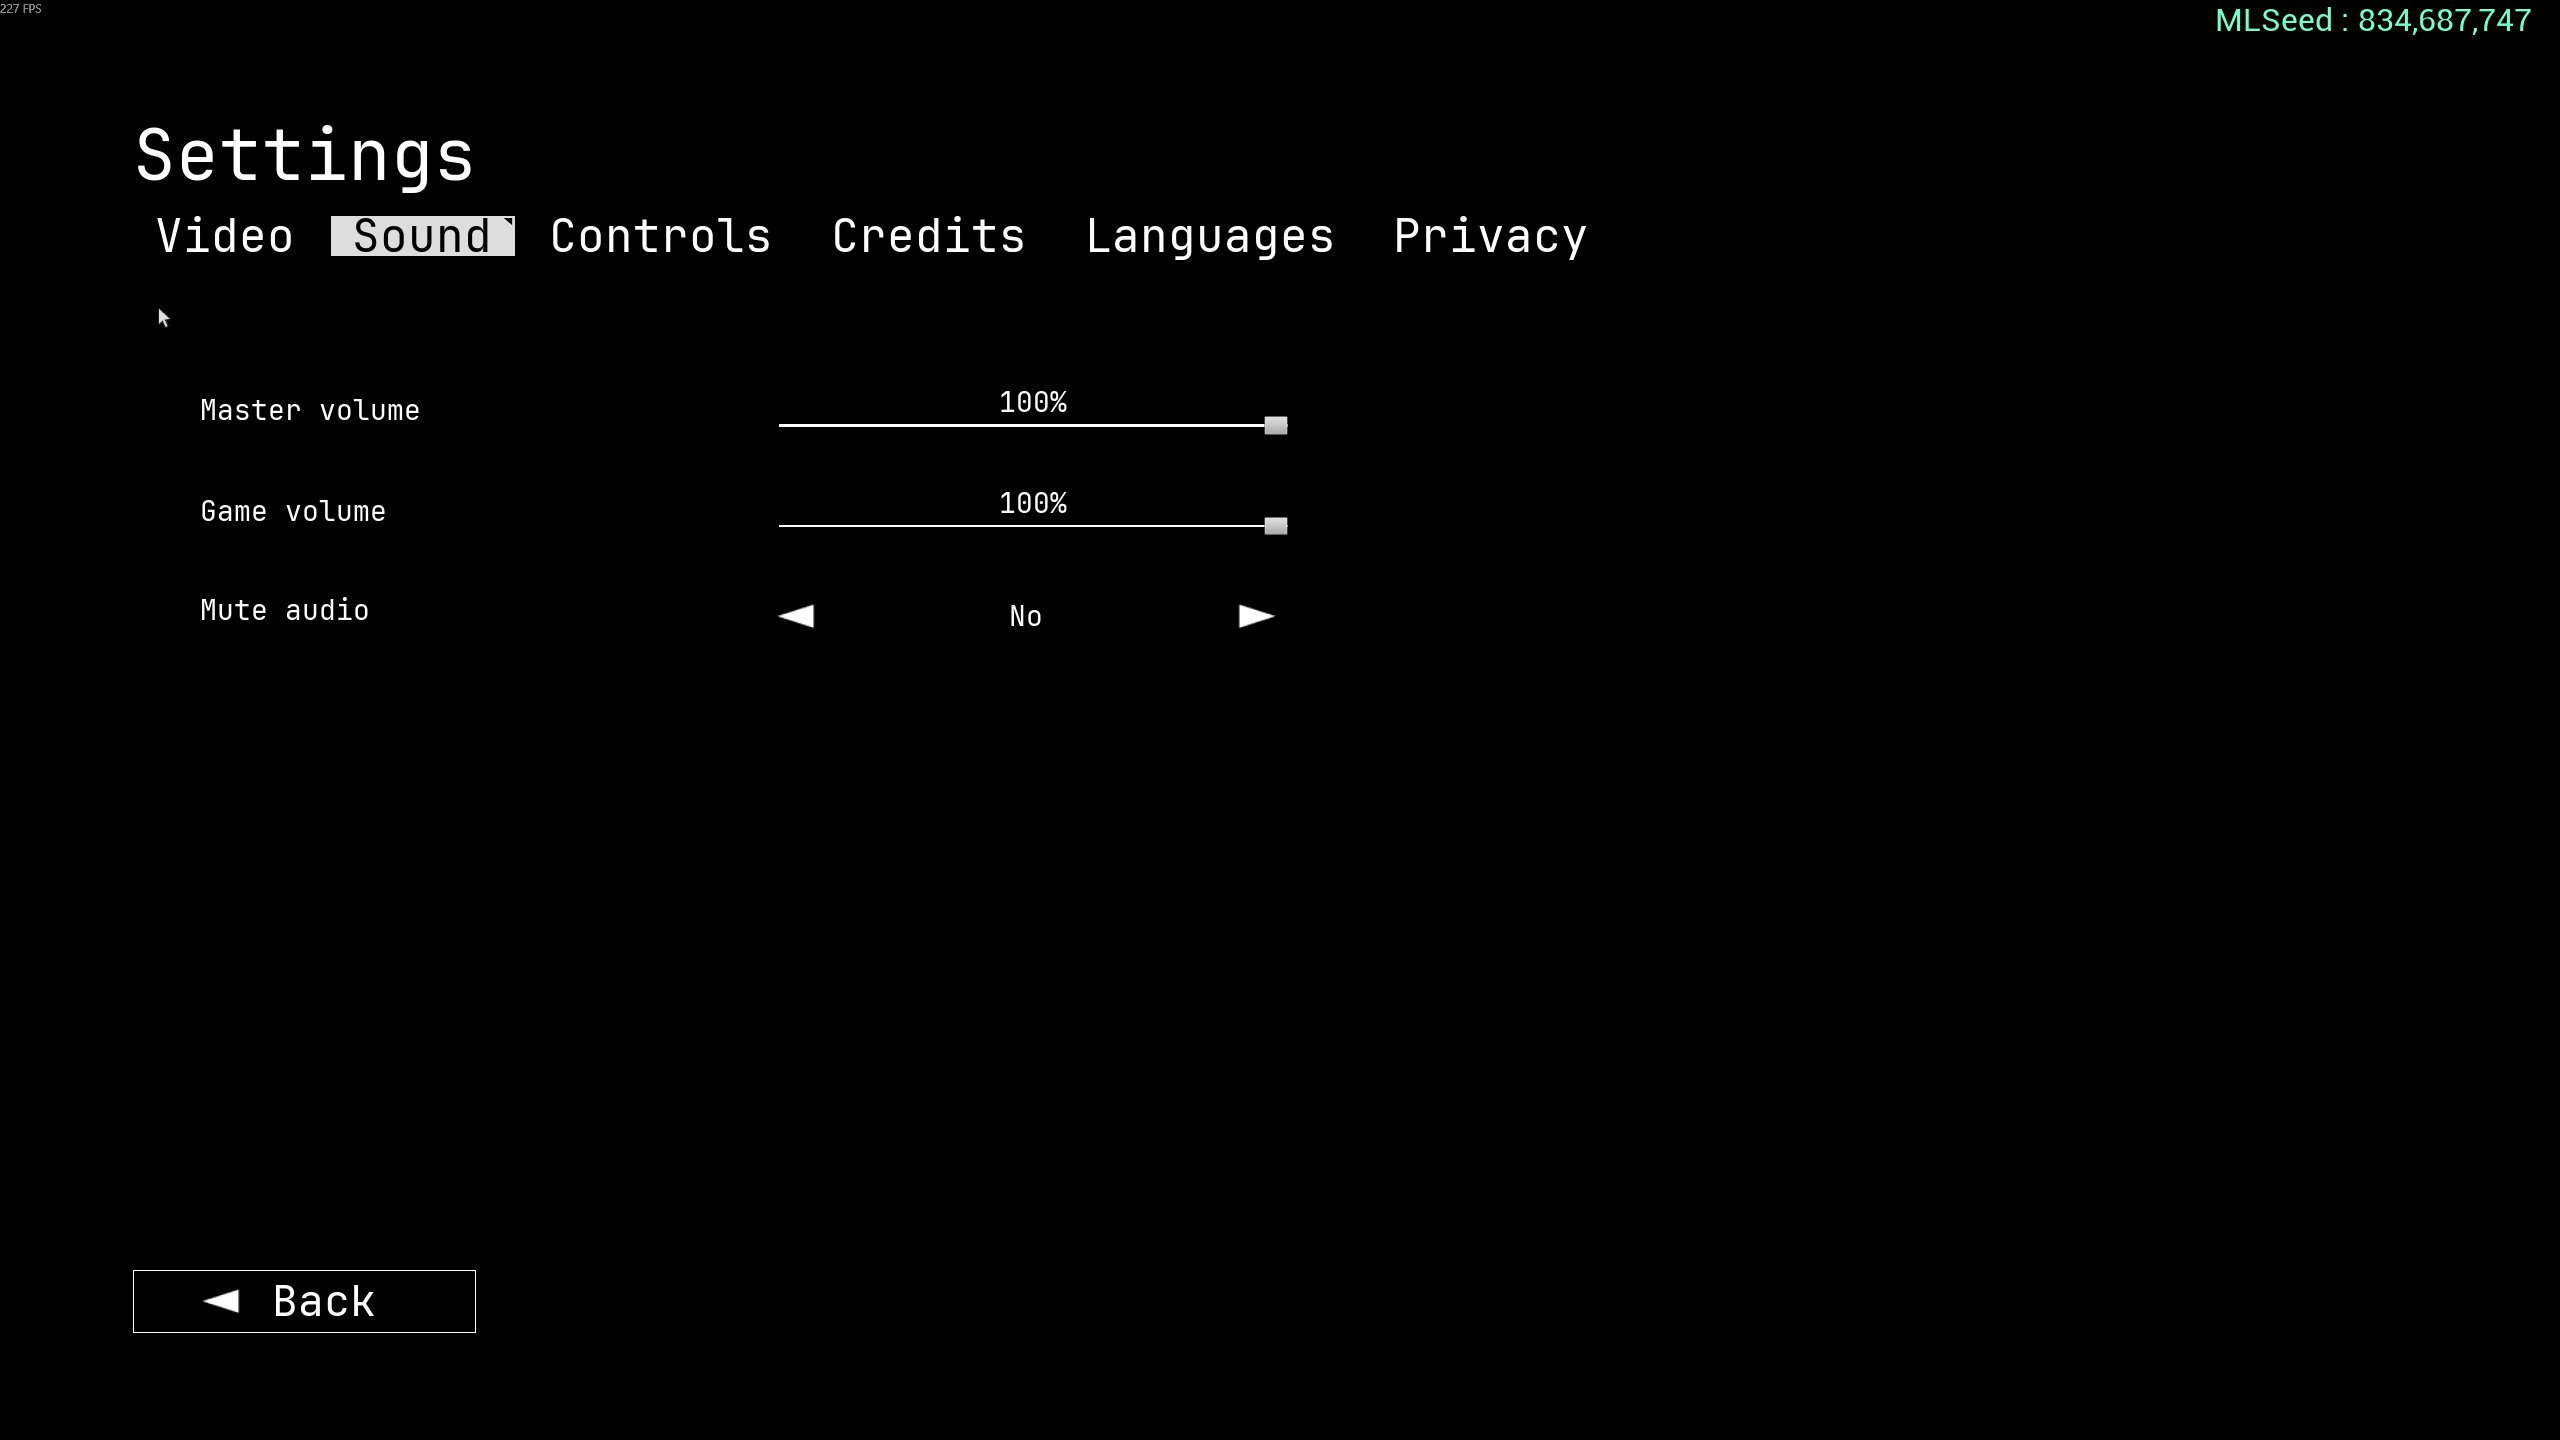
Sound Settings

- Master Volume: 100%
- Game Volume: 100%
- Mute Audio: No
The immersive sound design within Go Wayback substantially enhances the overall gameplay experience, which is why we generally advocate for maintaining audio levels at their maximum. However, these settings are primarily a matter of personal preference, so you are encouraged to adjust them freely to match your individual comfort and listening habits.
Controls Settings

- Crouch: C or Left Ctrl
- Jump: Space Bar
- Move Backward: S
- Move Forward: W
- Move Left: A
- Move Right: D
- Run: Left Shift
- Walk: Left Alt
- Help: H
- Pause: P or Escape
- Interact with Equipped Item (Secondary): Right Mouse Button
- Carry Item Under Arm: F
- Quick Equip 1: 1
- Quick Equip 2: 2
- Quick Equip 3: 3
- Quick Equip 4: 4
- Quick Equip Map: M
- Holster Equipped Item: 5
- Inspect: Q
- Interact With Equipped Item: Left Mouse Button
- Open Inventory: Tab
- Interrupt Item Placement: Right Mouse Button
- Place Item (Hold and Release): R
- Walkman Fast Forward: Combo Key and Right Mouse Button
- Walkman Rewind: Right Mouse Button
- Walkman Change Volume: Mouse Wheel
- Cancel Build Action: Right Mouse Button
- Camera Sensitivity: 30%
- Camera FOV: 120
We`ve implemented a few minor alterations to the default keybinds, though none are drastic enough to feel unfamiliar. Should you choose to jump directly into Go Wayback using the default setup, you will likely find them quite intuitive. However, we always encourage players to customize their controls to a configuration that offers them the most comfort and efficiency during gameplay.
Near the conclusion of the Controls settings menu, you will encounter two important options: Camera Sensitivity and Camera FOV. We have slightly reduced the default sensitivity and increased the Field of View (FOV) to 120 for a more expansive and immersive visual experience. Nevertheless, these values are highly subjective; you may find it beneficial to fine-tune them further based on your specific mouse DPI settings and personal preferences for field of view.