
Navigating the Great Tree, also referred to as the Sky-High Tree, presents a significant challenge in Shadow Labyrinth. This area introduces substantial traversal, a common element for players familiar with Metroidvania games. While numerous paths lead to secondary and optional rooms – useful for resource gathering – it`s easy to get lost. Furthermore, the in-game map can be unclear, potentially causing players to overlook crucial doors and ledges necessary for advancing the main objective.
If you`re struggling to traverse the Sky-High Tree, this step-by-step guide will walk you through the Great Tree in Shadow Labyrinth. The journey through this section concludes with a boss encounter, rewarding you with a vital new ability crucial for further progression.
Great Tree Walkthrough
Access to the Great Tree area is granted after defeating Orange G-HOST: Garbage Talos and acquiring the GAIA form via the G-Phase Shift. Despite the intricate terminology, the initial parts of this zone are straightforward. Your primary focus should be learning enemy attack patterns, as you`ll encounter several new adversaries while moving eastward.
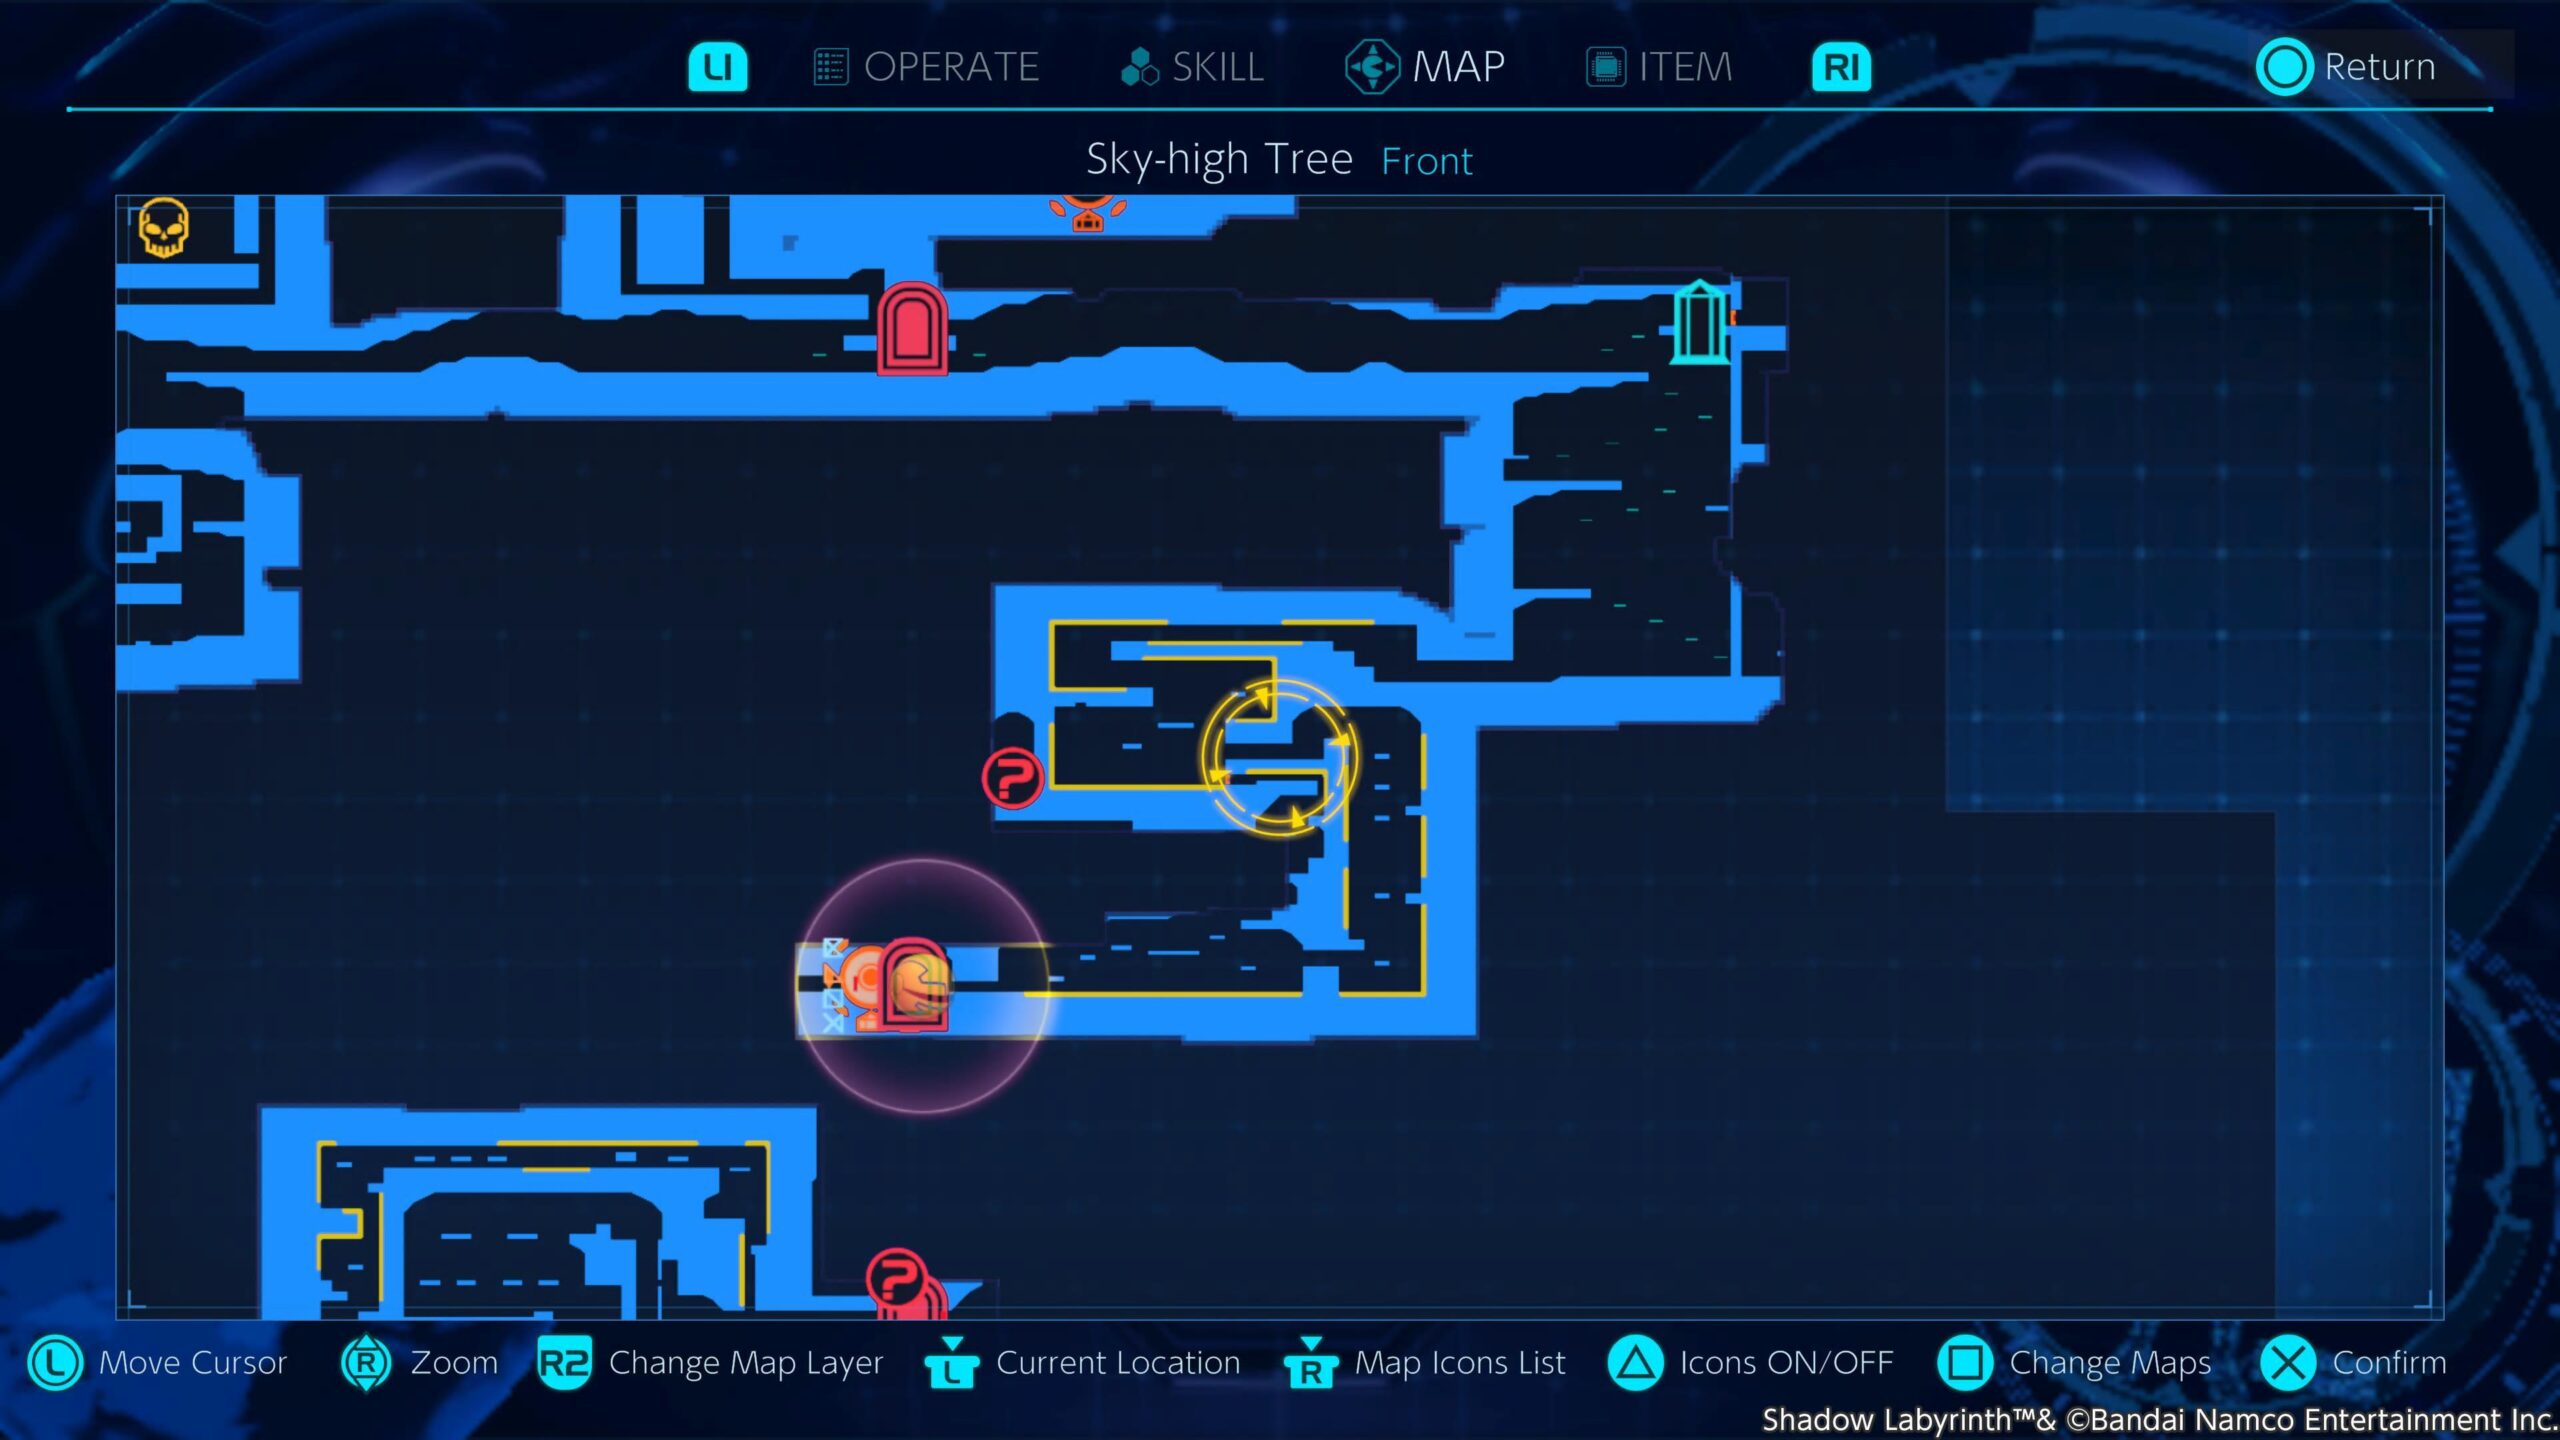
Please note that the included map screenshots depict areas after extensive exploration; your in-game map may appear different. As previously stated, numerous optional areas can be safely bypassed for now.

The eastern route leads to a lift that descends underground. Remember to activate the Miku Sol checkpoint there, which will be useful if you need to backtrack. Upon reaching the lower level, you will encounter an unusual NPC who bestows a valuable combat skill.
From this point, you`ll descend a vertical shaft with two possible directions: west or east. To stay on the main progression path, as covered in this guide, proceed eastward. This area features numerous enemies and new bouncing platforms, though most foes will be familiar from earlier zones.
Upon reaching the western corner of the map, begin your ascent. Using the Miku Sol checkpoint as a reference, follow the bouncing platforms, either defeating or evading the flying bugs and flowers. At the summit, two paths emerge. The western path leads directly back to the initial lift area; you can clear a barrier here to create a convenient shortcut and reuse the checkpoint. Afterwards, return and take the other path.
The eastern path guides you through confined tunnels populated by spiked enemies. Advance cautiously, eliminating them individually, and continue ascending. You`ll then gain access to another D-Line, transforming you into a Pac-Man-like ball. From this point, the route is fairly linear. Near the end, take the path to the right, as the left leads to an optional area.

You will then encounter a door prompting entry. Pass through it to reach the rear section of the Sky-High Tree. This path is quite direct, requiring the use of only two lifts to ascend. One lift is currently inaccessible, and a path leading to the right side of this vertical area can be ignored for the time being.

Once at the top, activate the Miku Sol checkpoint. You are now in the Verdant Shadow Path. Proceed eastward, following the D-Line, and prepare for some acrobatic movements as you ascend. The D-Line largely dictates your route; follow it until you emerge outdoors. This larger area contains numerous enemies, so advance carefully to avoid damage and falls. At the very top, the main path lies to the left, but be sure to activate the checkpoint located to the right.
Your next objective is to head left. This path is mostly linear, though an optional, temporary upward route can be ignored. Soon after, you`ll find yourself back outdoors. Continue along the paths until you reach wooden structures, then navigate through them. Utilize the large vines for upward traversal until you reach the eastern section. From there, drop to the ground and proceed left.

Utilize the vines once more to reach a long wooden structure with a central gap. Jump to the right side and engage any enemies encountered. This route will bring you to another crucial Miku Sol checkpoint. Although this path`s boss fight and its reward (a second HP-Tank) are detailed in a separate guide, the short version is: continue eastward and brace for a boss battle.
Once completed, use the vine on the right side of the structure to ascend to the very top. Now, proceed to the far western corner of the area. Carefully plan your jumps to avoid falling. You will eventually encounter a series of enemies, confirming you are on the correct route. After clearing them, use the available structures to move upwards into the next zone.

From this point, the path becomes relatively straightforward. Proceed along the single route to the right; you can ignore any gargoyles, which only appear at night. Shortly thereafter, you will encounter Night Gale, a colossal creature that serves as the next boss.

Before engaging, activate the Miku Sol checkpoint. When prepared, confront Night Gale; defeating this boss will grant you the valuable ability to perform an air-dodge. With this new skill, you can now proceed along the path to the right of the checkpoint.

From this point, utilize your newly acquired air-dodge ability to navigate past spikes and grasp vines while descending. You will then enter a similar area below. Upon reaching the bottom, proceed fully to the right, where you will arrive at the Torn Lands. Congratulations on successfully traversing the Sky-High Tree area!