
Delta Force, a free-to-play shooter previously available on PC and mobile, has now also launched on Xbox Series X|S and PlayStation 5. Although it fully supports controllers, aiming and movement on consoles might feel unfamiliar to some players. This guide offers optimal settings to enhance your precision, sensitivity, and movement fluidity when playing Delta Force on console with a gamepad. Recommendations for audio and graphics settings are also included.
The game supports cross-play, though with some platform-dependent limitations. Delta Force features a roster of 11 class-based operators.
Controller Settings
As Delta Force was originally developed for PC and mobile, players accustomed to shooters like Call of Duty or Battlefield might find the console controls awkward and stiff, especially regarding movement and aiming.
Many game settings can likely remain at default, but controller sensitivity should definitely be adjusted. While settings often depend on personal preference (e.g., varying sensitivity for hip-fire or aiming), the suggested parameters will help refine movement and aiming.
It`s also recommended to adjust sensitivity for ground vehicles and tanks, setting it roughly to the same level as your operator`s sensitivity. Similar adjustments will likely be needed for aircraft.

Controller Sensitivity
Stick Deadzones
- Right Stick Center Deadzone: 10
- Right Stick Maximum Input: 80
- Left Stick Center Deadzone: 10
- Left Stick Maximum Input: 80
Input Sensitivity
- Stick Response Curve: Standard
- Sensitivity Preset: Custom
- Hip Fire Horizontal Sensitivity: 450
- Hip Fire Vertical Sensitivity: 300
- Hip Fire Horizontal Outer Deadzone Acceleration: 50
- Hip Fire Vertical Outer Deadzone Acceleration: 50
- Hip Fire Turning Activation Time: 30
- Hip Fire Turn Delay: 0
- ADS Horizontal Sensitivity: 200
- ADS Vertical Sensitivity: 150
- ADS Horizontal Outer Deadzone Acceleration: 20
- ADS Vertical Outer Deadzone Acceleration: 20
- ADS Turning Activation Time: 50
- ADS Turn Delay: 0
Set Sensitivity Per Zoom: Off (This can be enabled to manually set different zooms for all scope types, but the default setting works well here.)
Sensitivity Transition Mode: ADS Transition
Scope Magnification Adapts Automatically: On
Invert All Vertical Input: Off
Invert All Infantry Vertical Input: Off
Invert All Ground Vehicle Driver Vertical Input: Off
Invert All Aircraft Vertical Input: Off
Invert All Gunner Vertical Input: Off
Turret Locked While Vehicle Turning: Off
Controller Vibration: Off
Adaptive Triggers (PS5): Off
The adaptive trigger effect on PS5 should definitely be disabled. While it might enhance immersion, for more precise aiming, it`s best to have this effect turned off.
Ground Vehicle Sensitivity
- First-Person Horizontal Sensitivity: 400
- First-Person Vertical Sensitivity: 300
- Third-Person Horizontal Sensitivity: 300
- Third-Person Vertical Sensitivity: 250
- Set Sensitivity Per Zoom: Off
Aircraft Sensitivity
- First-Person Horizontal Sensitivity: 400
- First-Person Vertical Sensitivity: 300
- Third-Person Horizontal Sensitivity: 300
- Third-Person Vertical Sensitivity: 250
- Set Sensitivity Per Zoom: Off
Gunner Sensitivity
- First-Person Horizontal Sensitivity: 400
- First-Person Vertical Sensitivity: 250
- Set Sensitivity Per Zoom: Off
Aim Assist
This feature should definitely be kept on when playing with a controller.

Controller Controls
Controller Layout and Combat Sections
This section is largely based on personal preference. Here, you can configure whether to use the bottom triggers or top bumpers for shooting, and also swap crouch and melee buttons to allow faster crouching, diving, and proning with the right thumbstick.
Movement
- Auto Run / Tactical Sprint: Close or Auto Run
- Run / Tactical Sprint Control: Toggle
- Tactical Sprint Activation: Press While Sprinting
- Slide / Dive Activation: Press to Slide / Hold to Dive
The only setting worth changing here is “Auto Run / Tactical Sprint,” which depends on personal preference. Keep it on “Auto Run” if you always want to charge into battle. If you prefer to regulate your movement speed with the thumbstick, choose “Close.” In this case, light pressure will make you walk, and more pressure will make you run. This option is preferred for those who want to move stealthily and tactically.
Controls and Combat
Leave this section at default unless you wish to remap various movement controls.
Aim
Leave this section at default unless you wish to remap various aiming controls.
Vehicle
Leave this section at default unless you wish to remap various vehicle controls.
Screen Settings

General
- Show Performance Parameters: On
Operations
- Show Detailed Item Pickup Tips: On
- Close Backpack / Pickup Tab When Being Attacked: On
- Close Backpack / Pickup Tab When Sprinting: Off
Warfare
Minimap
- Rotating Perspective: Off (can be enabled if preferred)
- Infantry View Distance: 100
- Ground Vehicle View Distance: 150
- Aircraft View Distance: 240
- Minimap Icon Scale: 100%
Language
- Text: English (or your preferred language)
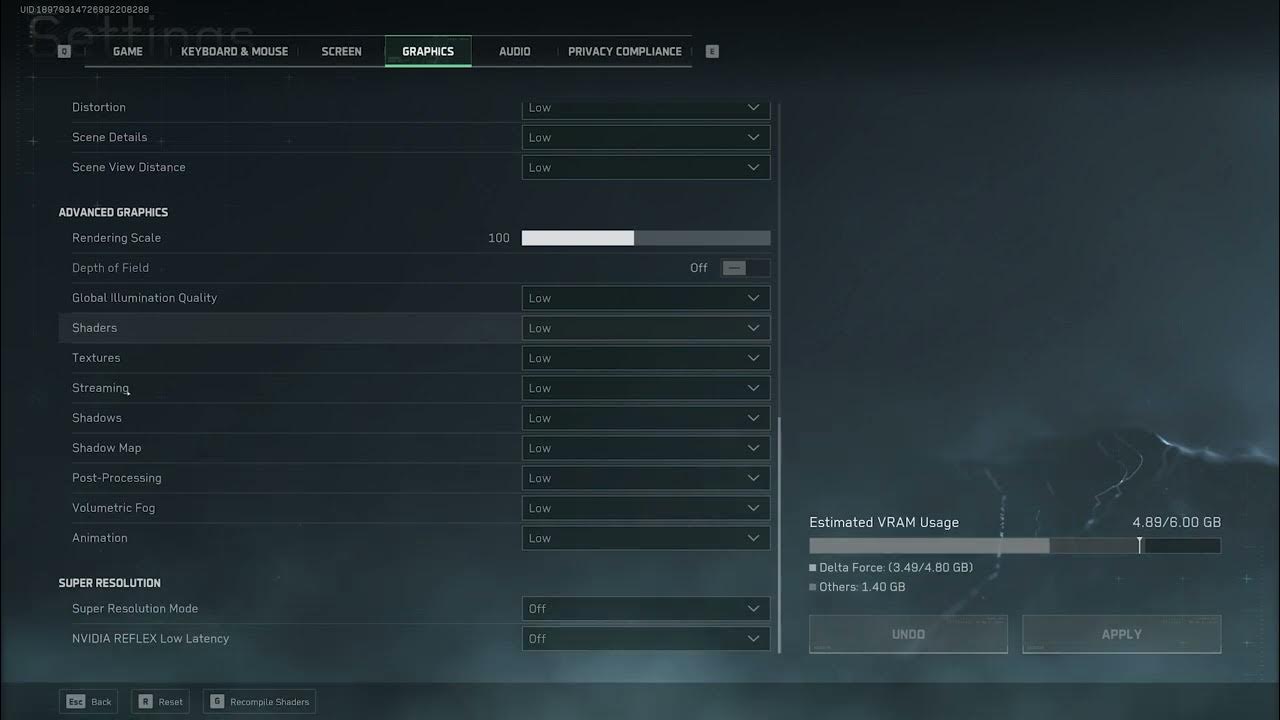
Graphics

Display
- Brightness: Default
- V-Sync: Off
- Performance Mode: Frame Rate
Disabling V-Sync and prioritizing frame rates over graphics will be most beneficial in this game, as with most online multiplayer shooters.
Combat Perspective
- Field of View (FOV): Set a value between 100 and 120.
Audio

Audio settings are generally also a matter of personal preference. For many, the in-game audio might be too loud, making it difficult to communicate with friends in party chat. It`s recommended to lower the Master Volume to around 60, but you can adjust it more or less to your liking. It`s also helpful to significantly reduce music volume to prioritize important in-game sounds and chat. However, if you prefer to enjoy the music, you can leave it at its original level.
Another important setting is the streamer mode, which allows you to disable copyrighted music playback. If you are not streaming, you can leave this option enabled to enjoy the music.
Master Volume
- Master Volume: 60
- Audio Output Mode: Speakers or Headphones
- HRTF: Default
- Mute When Minimized: On
Individual Volume
- Music Volume: 25
- Sound Effects Volume: 100
- UI Volume: 100
- Voice Volume: 100
- Copyrighted Music Playback: On by default
Voice
- Chat Channel: Squad
- Mic Mode Switch: Choose between Always On, Push to Talk, or Off
- Mic Volume: 100
- Channel: All
- Voice: English (or your preferred language)